
As an Android developer with a background in web development, the first thing that I noticed designing user interfaces for Android apps was that there is no screen-related relative dimensions. Developers may say there is a ViewGroup called RelativeLayout, which as the name implies, is relative. However, this layout only helps you to have views to have positions relative to each other inside that RelativeLayout. What if we want our views to have position or size relative to the entire layout?
If you are familiar with web development and CSS you know how easy it is to use percent for the problem we described in the previous paragraph. As you can see it is really easy in CSS to define how large you want your view to be. I have been longing for this feature in Android and recently, Google introduced that in one of their support libraries: Percent Support Library. Using this library, developers can overcome so many issues they used to have designing user interfaces for different devices with different screen sizes. Moreover, it aids developers in allowing them to remove redundant layouts they needed to achieve a simple design. For example, suppose we want to design an app with the following screen.
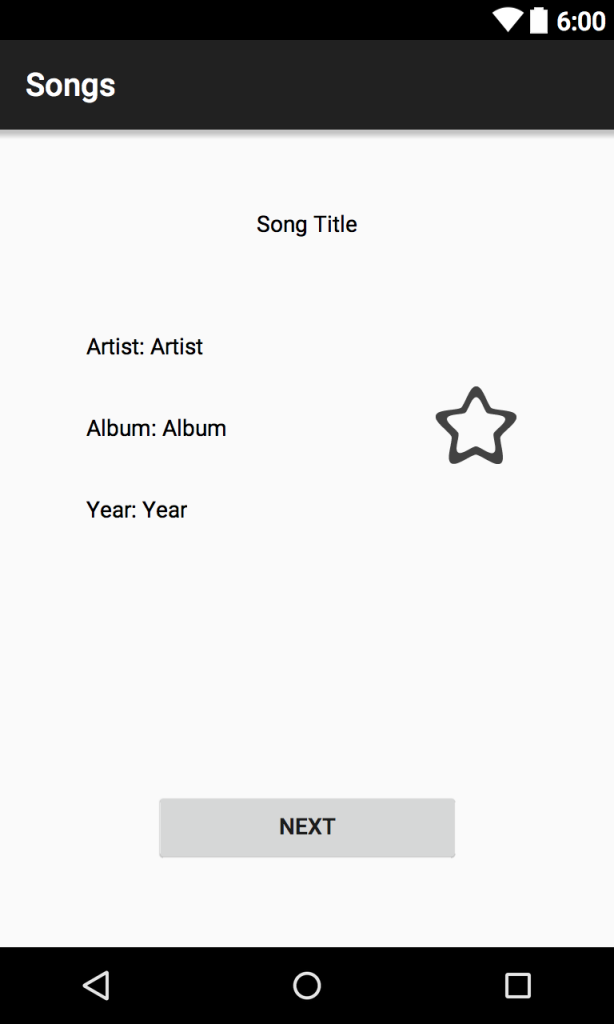
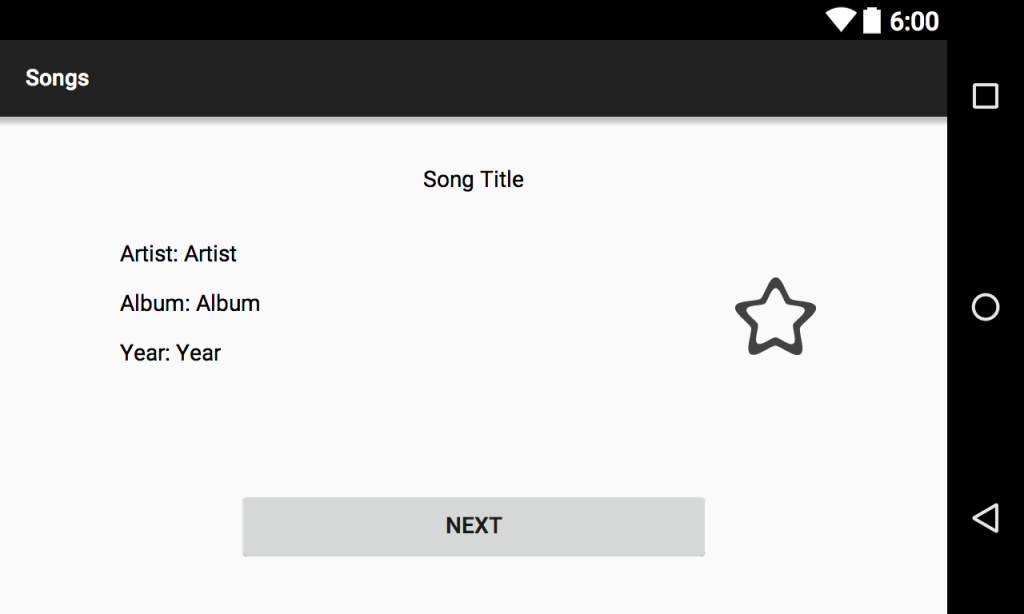
This design has two specific characteristics that make it a little bit challenging to be designed using RelativeLayout. First, the song-related content that we have on this screen is not centered vertically. And second, the “Next” button at the bottom of the screen has a width of half of the screen (or has margin of a quarter of screen on each side).
If we want to design this screen using a combination of both RelativeLayout and LinearLayout, there are a couple of approaches that we can adopt to make the design fit perfectly for both portrait and landscape orientation and phones with different sizes.
The first approach would be defining several layout files for portrait and landscape orientations and different screen sizes. The other approach, which still may not perfectly serve the design part for the content, is that we define nested LinearLayouts to use its weight attribute. For example, for the “Next” button we have to define a LinearLayout that has only one child, which is the “Next” button, and has the attribute of wieghtSum which should be twice as much as the button’s weight. This has been the approach that Android developers previously had to use, but not anymore.
PercentRelativeLayout
Here we show how we can use percentage-based margin and size in Android using Percent Support Library.
To be able to use this cool feature we have to add com.android.support:percent:23.1.0 dependency to your app’s dependencies in the gradle file as follows:
dependencies {

compile fileTree(dir: 'libs', include: ['*.jar'])

compile 'com.android.support:appcompat-v7:23.1.0'

compile 'com.android.support:percent:23.1.0'

}
After that, the container you want to have should be PercentRelativeLayout. That is, in the layout xml file you have to have android.support.percent.PercentRelativeLayout.
And there you have it. Any views that you may add to this layout can make use of the percent feature that we discussed in this blog post.
For example, the Artist TextView that we had in the previous screenshots would be defined as follows.
<TextView

android:layout_width="wrap_content"

android:layout_height="wrap_content"

android:text="Artist: Artist"

app:layout_marginLeftPercent="10%"

app:layout_marginTopPercent="25%"/>
In the TextView definition above, app:layout_marginTopPercent says that the TextView should have a top margin of 25 percents of its container, which in this case is the whole screen.
And more interestingly, our “Next” button can be defined as follows.
<Button

android:layout_width="wrap_content"

android:layout_height="wrap_content"

android:layout_alignParentBottom="true"

android:layout_centerHorizontal="true"

android:text="Next"

app:layout_marginBottomPercent="10%"

app:layout_widthPercent="50%"/>
Utilizing this feature, we can eliminate a redundant layout of LinearLayout and added only one attribute to the Button view: app:layout_widthPercent.
In conclusion, this library makes developers’ and designers’ life easier by spending less time thinking about how to implement a certain design. Moreover, it can help the app’s performance since we remove the nested layouts and added only a few attributes to some views.